Tutorials
How to Build a Multi-Window TodoMVC App with ToDesktop Builder
Learn how to create a multi-window ToDesktop Builder application
Introduction
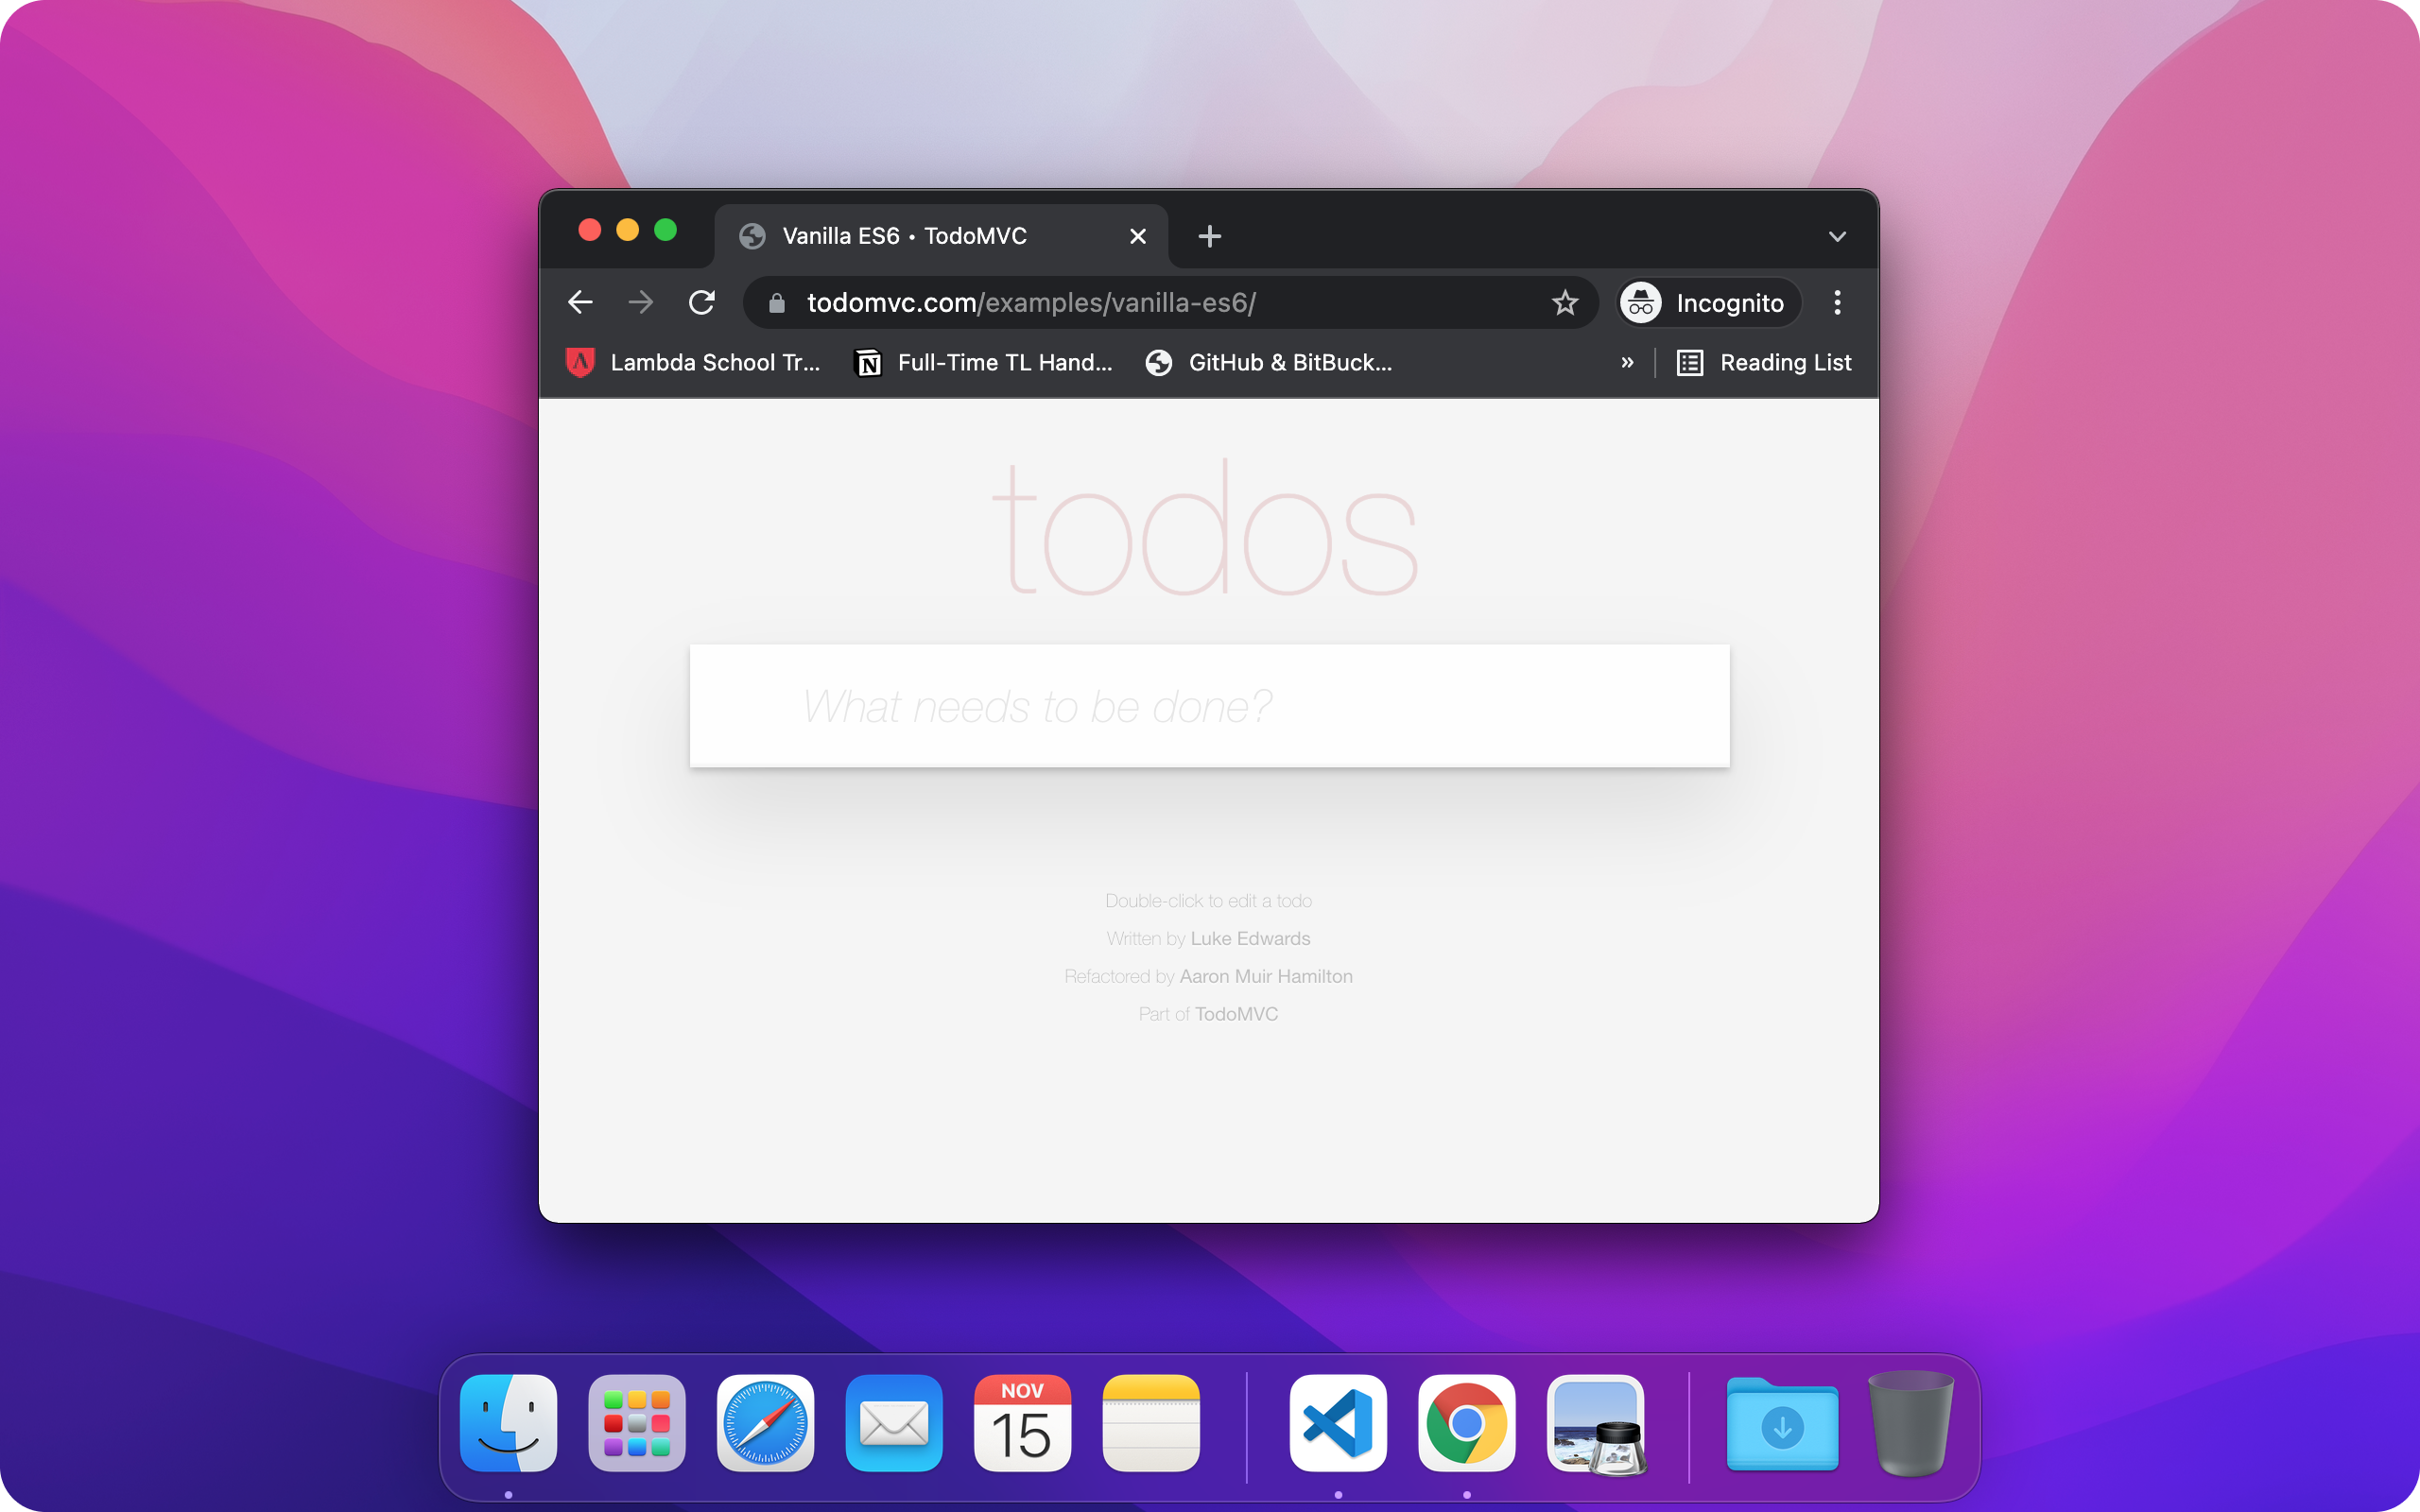
TodoMVC is a project that showcases the same todo application built across a range of JavaScript frameworks.
ToDesktop Builder is an application for creating cross-platform desktop apps with a few lines of code. In this guide, you will learn how to build and release a multi-window TodoMVC app with the ability to:
- Create, update, and delete todos.
- Organize todos into different workspaces.
- Capture todos in a floating window that synchronizes with the main window.
You will take full advantage of the no-code interface and the plugin ecosystem that ToDesktop offers. By the end, you will have a fully packaged application that can be installed on any operating system.
Step 1: Set up ToDesktop Builder project
Install ToDesktop Builder
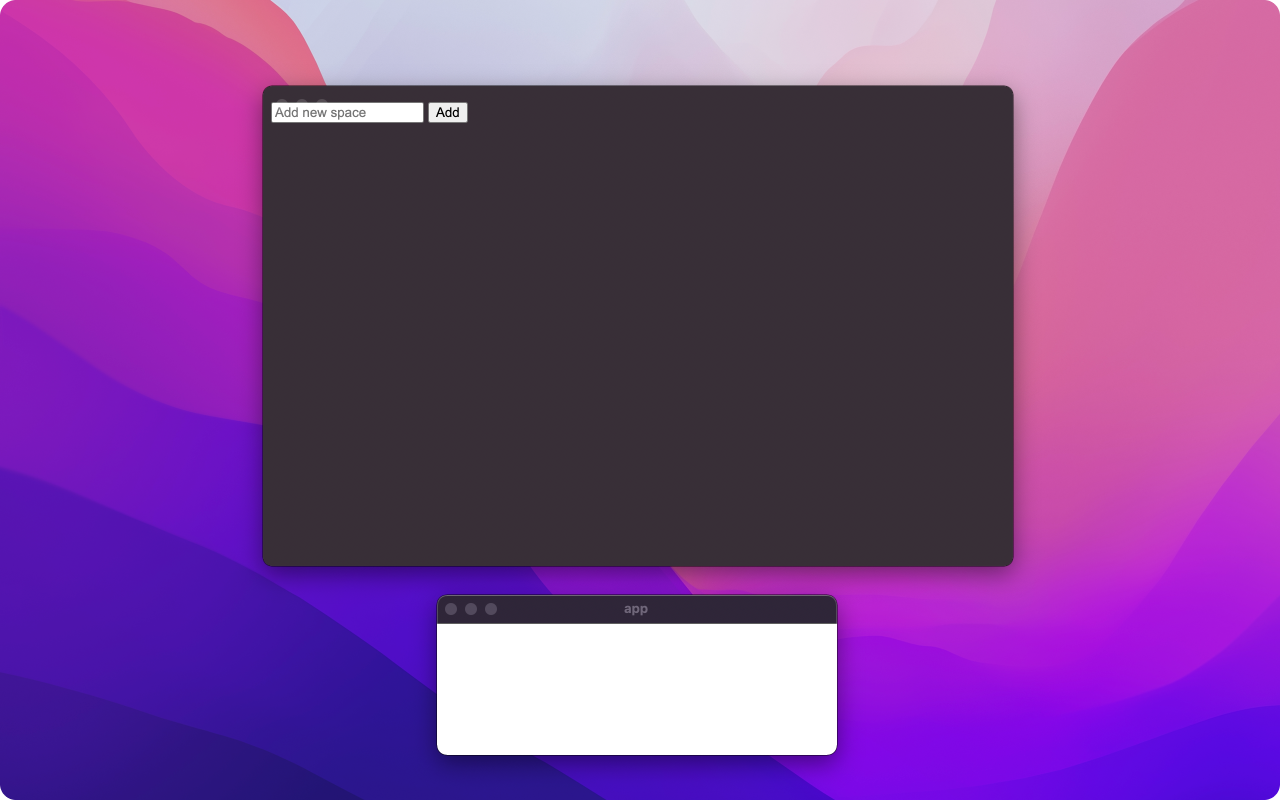
First, you'll need to download the ToDesktop Builder application. Once done, install and run the downloaded application.You should now see the following screen:
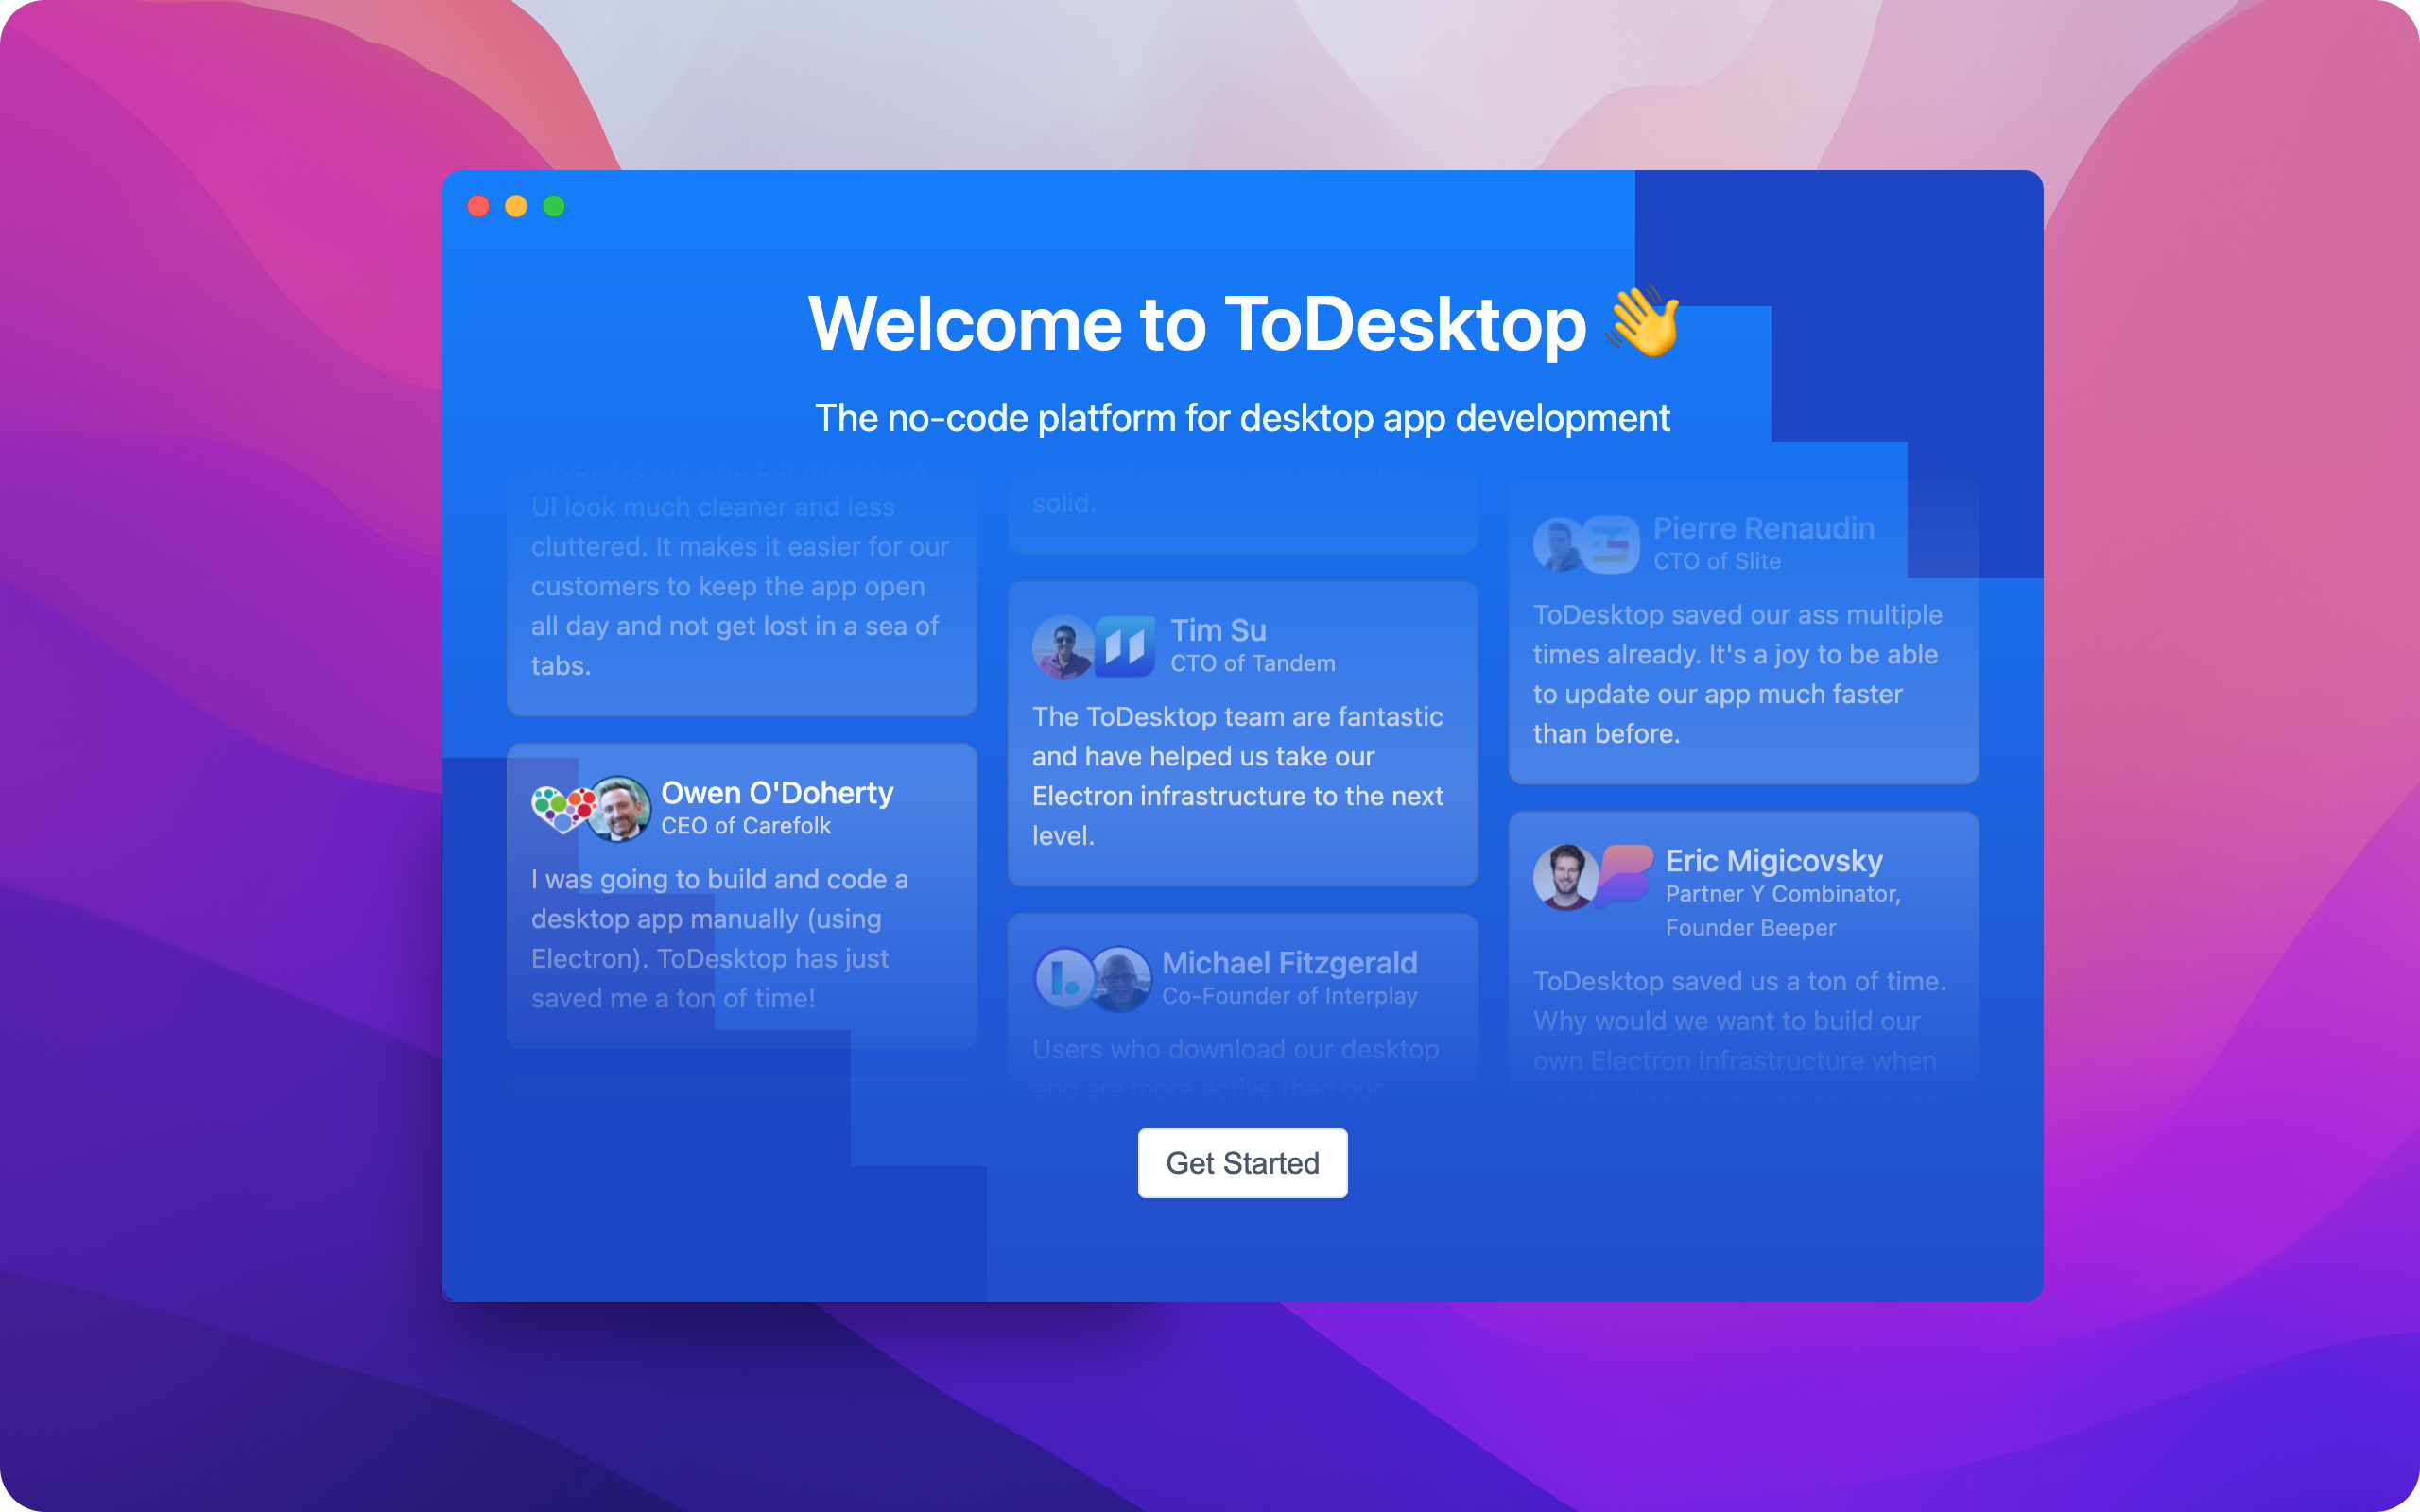
Click the Get Started button to begin the authentication process. This will link the web app's credentials with that of the desktop app. Once authenticated, you will be navigated to ToDesktop Builder.
Create new project
If this is your first time using ToDesktop Builder, you will see the create new project screen. If you don’t see this screen, click the application dropdown and select create new project.
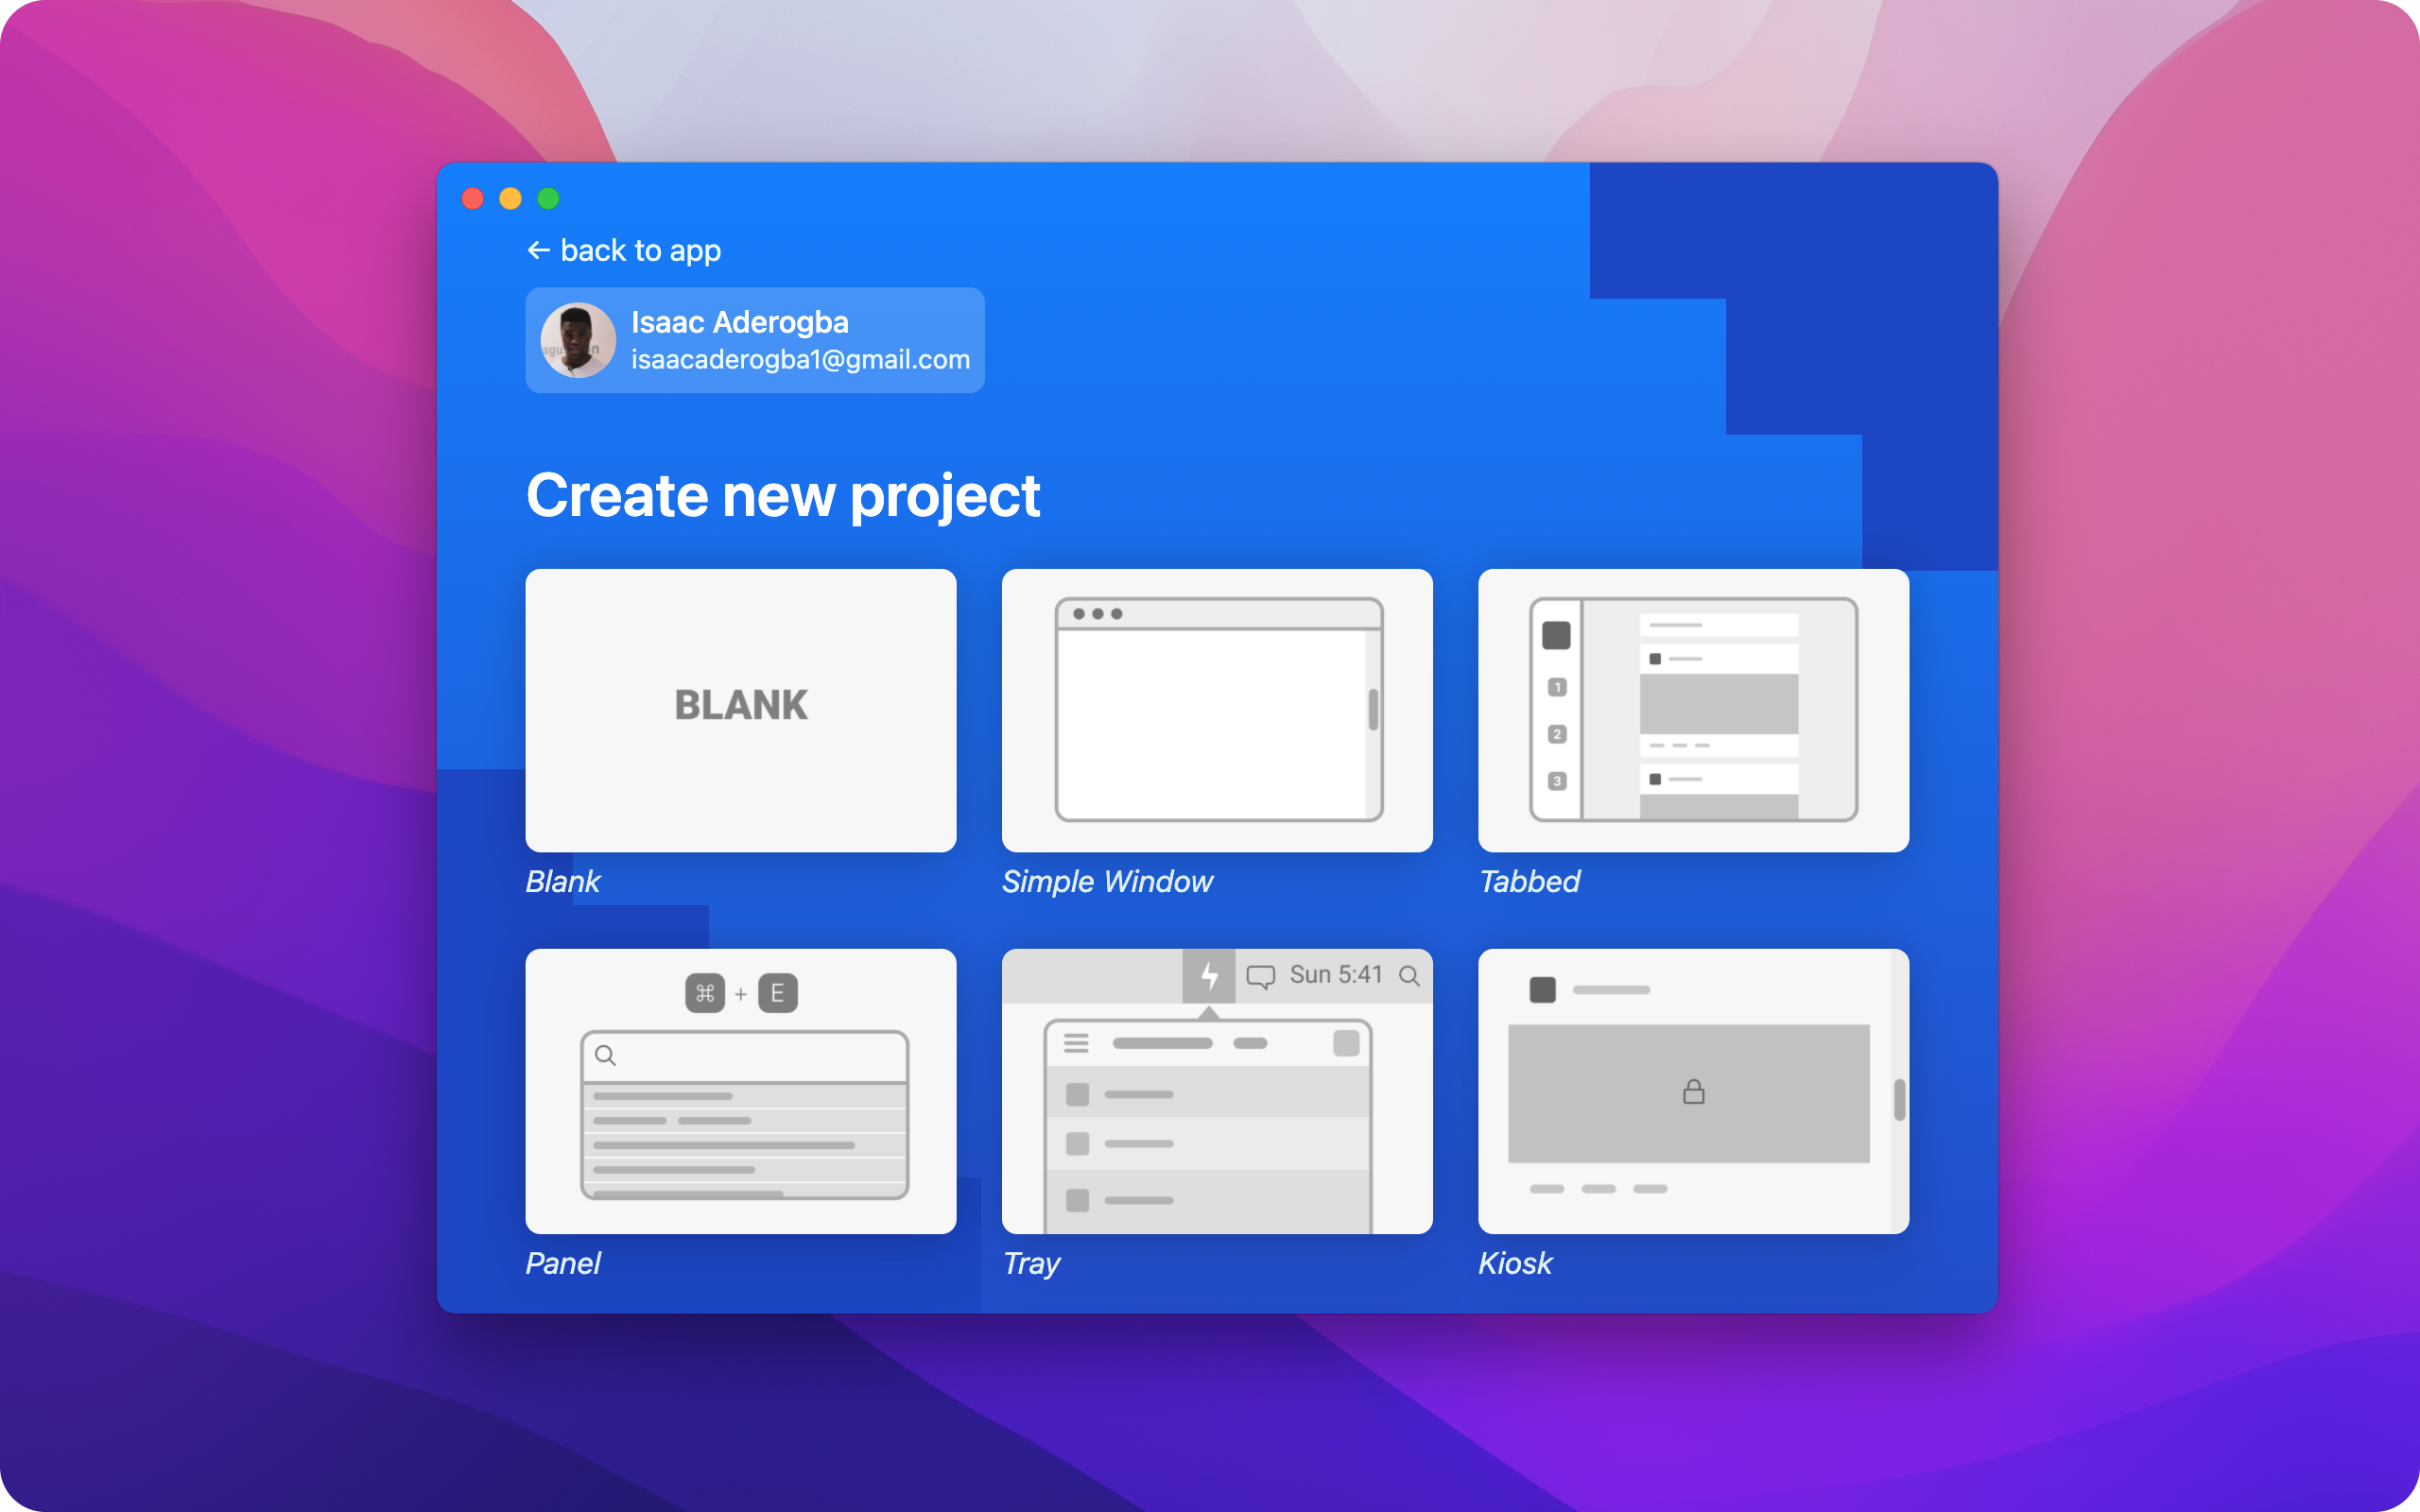
Once here, click the Blank project and enter the following:
Click the Create App button to complete the initial setup.
Create a hidden window
Next, we’ll create a hidden window that will run in the background. This window is the entry point that will orchestrate the other windows and views.
Using ToDesktop Builder, navigate to Windows and click the plus icon in the top-right corner. Make the following updates in the Overview panel:
You can now click the Run button to start the app. You should now see the TodoMVC icon in your dock, but no visible window.

Step 2: Setup starter project
We have provided a starter project to help get you set up. This contains the index, main, aside and spotlight folders that you’ll need to create this app.
Clone the Github repo
Navigate to the project Repo to find the template files. Click the Fork button to duplicate the project to your account. Once forked, click the Code dropdown button and copy the web URL.
Now using your terminal, navigate to a directory of your choice and paste the web URL as follows:
Navigate into the directory and install the TodoMVC dependencies.
Install custom plugins
ToDesktop provides a modular plugin system that can add functionality to our desktop app.
We’ll use the @todesktop/ipc plugin to add functionality for communicating between windows and views.
❓ When should you use @todesktop/ipc over the BroadcastChannel API?
You should use @todesktop/ipc if you need to communicate between different Electron sessions or domains with a different origin. For all other purposes, we recommend using the BroadcastChannel API.
Using ToDesktop Builder, navigate to Plugins via the sidebar. Then click the Explore button next to IPC Communication and install the plugin.
Now using your terminal in the todesktop-mvc-ipc directory, install the related client package:
While we’re at it, we’ll also install @todesktop/client-core. This is a client package that exposes functionality for managing windows and views in a desktop environment.
Start the app
Once the installation has been completed, you can start the application with:
This starts our app on http://localhost:8080. The project will now reload when any of the javascript files in the following folders change:
Step 3: Creating multiple windows and views via index
Now that we have the necessary plugins, we can start writing code. In this section, we’ll use the APIs provided by ToDesktop to manage our windows, views, and cross-communication.
Open the project in a code editor of your choice and add the following lines of code to index/index.js:
Directly after, we’ll define the global variables that we’ll need throughout this file:
workspaceswill store references to the workspaces that we create.selectedWorkspacewill store the currently-selected TodoMVC workspace.asideMainWinwill store a reference to the window that shows a list of our workspaces. This window will contain theasideandmainview.spotlightWinwill store a reference to the window that allows us to quickly capture todos. This window will contain thespotlightview.ROOTwill store the base URL for our application.
Composing windows with views
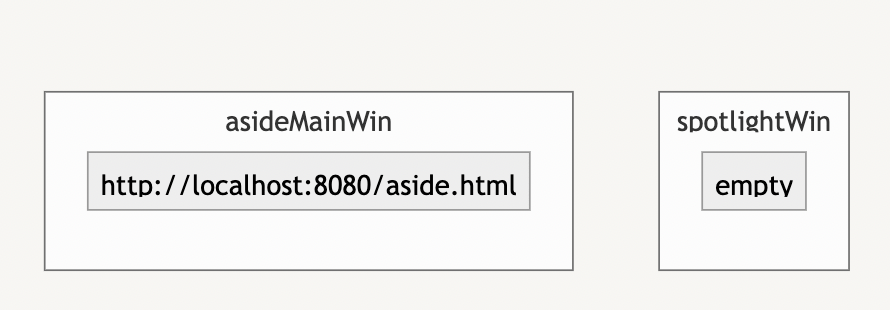
Let’s create the body of the background function. This function is responsible for creating the initial windows and views:
Starting from the top of the function, we’re creating new windows and assigning them to our asideMainWin and spotlightWin variables. We then add a browser view to asideMainWin. This view loads a URL that points to our aside html file.
To help visualize, executing our background function would create the following in our desktop environment:
Finally, we add a listener to the window unload event. This will destroy the windows (so that they can be recreated again) whenever we make a code change in our development environment.
Creating the helper functions
With the overall structure understood, we can start defining the helper functions that are executed in the background function.
Create window view
The createWindowView function accepts three arguments:
- The composition action (
action) to conduct on the view, with options being addBrowserView or setBrowserView. - The target window (
win) to be acted on. - Arguments (
args) that dictate the view’s position and preferences.
It uses these arguments to create a new view, load a url into that view, and then position that view within the window.
Load view URL
loadViewURL attaches the browser view to a window, accesses the web contents of that view, and then loads the target url into the web contents:
Set view bounds
setViewBounds gets the size of the browser window, and then uses that to determine the bounds of the view. Once that’s done, we instruct the view to resize itself when the parent dimensions change.
At this point, we can invoke our background function by adding this line after all of our function definitions:
You should now see the following two windows when you run ToDesktop Builder:
Responding to window events
With the core functionality of our background function in place, we now need to respond to events that might come from these newly-created windows and views.
We’ll be using the subscribe and publish functions that we imported from @todesktop/plugin-ipc to react to the following events:
workspace:created: This occurs when a workspace has been created. We react by publishing aworkspace:syncedevent after we add the workspace to our internal list.
workspace:selected: This occurs when a workspace has been selected. We react by attaching the newly-selected workspace views to our existing windows. The logic inside of theifcondition replaces our existing views with views corresponding to the new workspace title. This is what gives us the ability to separate workspaces for our TodoMVC views. Each workspace has its ownpartitionwhich allows it to operate independently of other workspaces.
After we react to the workspace:selected event, we’ve effectively created the main and spotlight views that occupy our global windows.

Step 4: Creating, selecting, and restoring workspaces via aside
Now that the hidden index window can construct our desktop environment, we can start adding functionality around creating workspaces and todos. Like before, we’ll set up our imports and global variables first in aside.js:
Rendering workspaces in response to events
As we’re not using a Javascript framework, we’ll need a render function to update our user interface when our data changes.
This function will append our list of workspaces to a HTML element on the web page. Each workspace will then have an event listener so that it knows when it has been selected. The function, and a commented sequence of steps, is detailed below:
In order to create new workspaces, we’ll listen to the submit event from our form element. When this event triggers, we’ll access the value from the input field and use that as the title of our workspace.
The createWorkspace function emits that a workspace has been created, updates its internal list of workspaces, and causes a re-render:
Subscribing to workspace events
While we can now handle workspace creation through the aside view, we don’t know when a workspace’s todos have been created. If we refer back to the table of responsibilities, we’ll observe that only the main view knows about this:
To resolve this, the aside view needs to listen to workspace:status events that come from the main view. When this event is triggered, the aside view will update the associated workspace, and then cause a re-render.
Saving, loading, and hydrating workspaces
As the last piece of functionality for aside, we’d like to be able to load and save our state if the user exits the application. This can be done through an invocation that saves a snapshot of our state to local storage every 5 seconds.
Loading saved workspaces is then as simple as parsing what is contained in local storage.
These saved workspaces represent the workspaces that we need to create in the user interface. This can be done by calling the createWorkspace function that we previously defined. Alternatively, if we find that there are no saved workspaces, we’ll create a default workspace called General.
At this point, we can let our hidden index window know that we’ve selected the first workspace we could find.
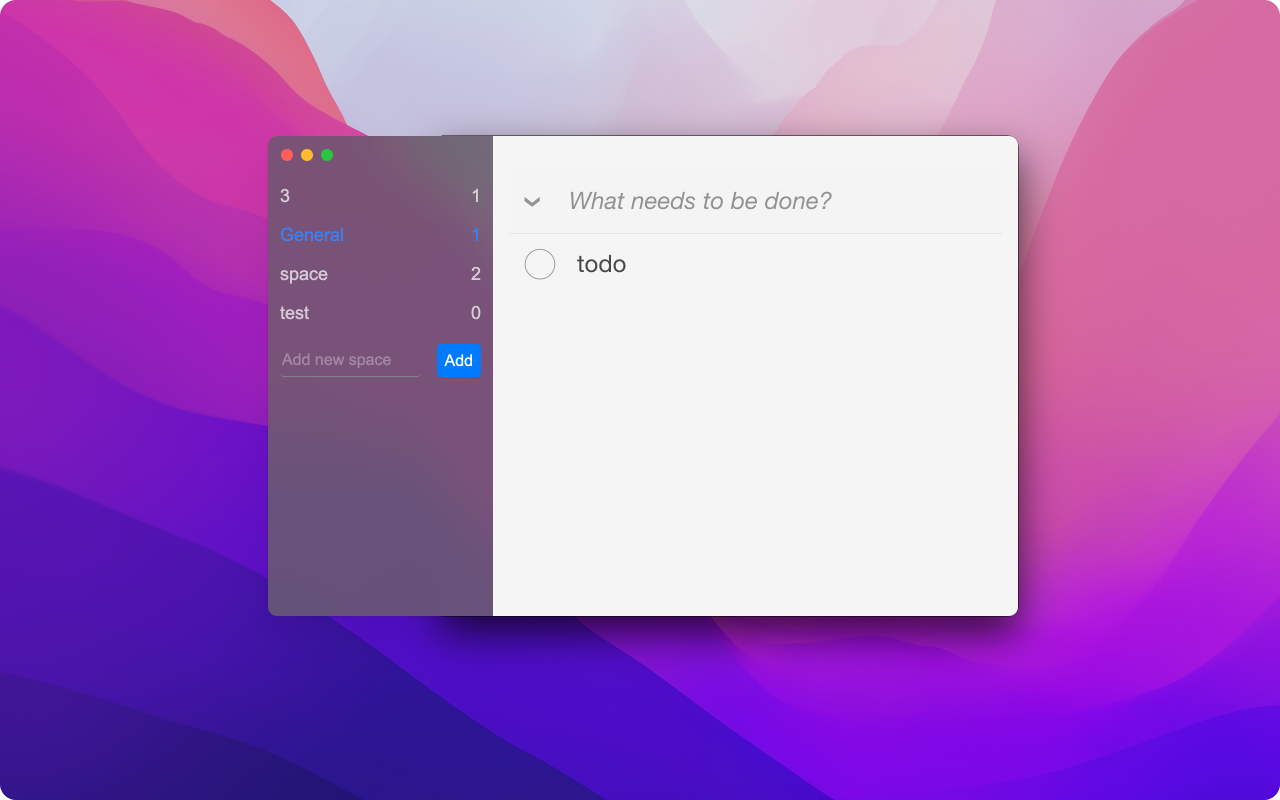
While not very presentable, you should be able to play around with creating and selecting workspaces
Current state of the aside view
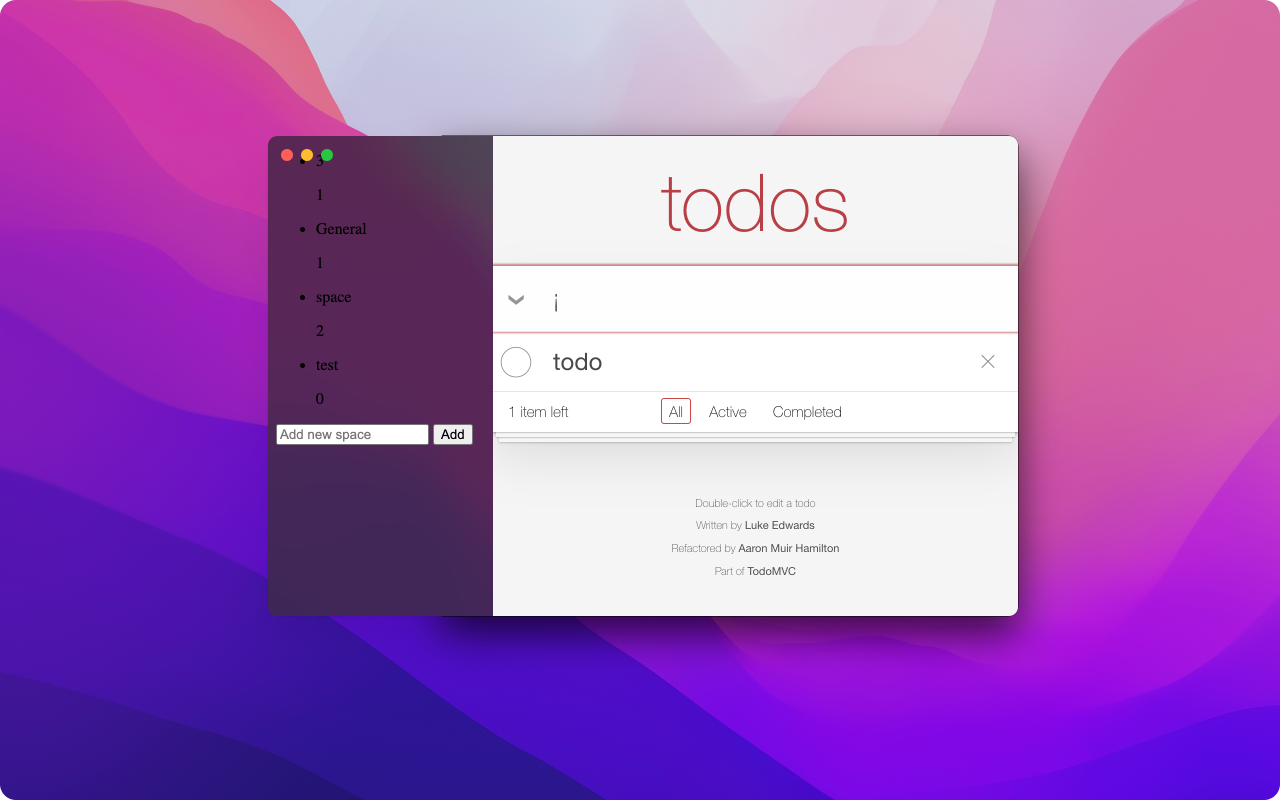
To add some polish, put these styles in the aside/aside.css file:
Step 5: Communicating workspace status via main
At this point, we’ve completed the majority of the work. The main view simply needs to subscribe to a create:todo event and publish a workspace:status event for other views to listen to.
Like before, we’ll import our publish and subscribe helpers from @todesktop/client-ipc. Import the following at the top of main/controller.js:
Next, we’ll subscribe to the create:todo event. This event will be broadcasted by the spotlight view whenever a todo is created via its spotlight window. On receiving the create:todo event, we’ll proceed to create a todo item, using the title from the broadcasted event.
Whenever a todo has been marked as completed, we’ll broadcast a workspace:status event. This event will be received by the aside view, which will then be able to render the number of remaining todos for the workspace.
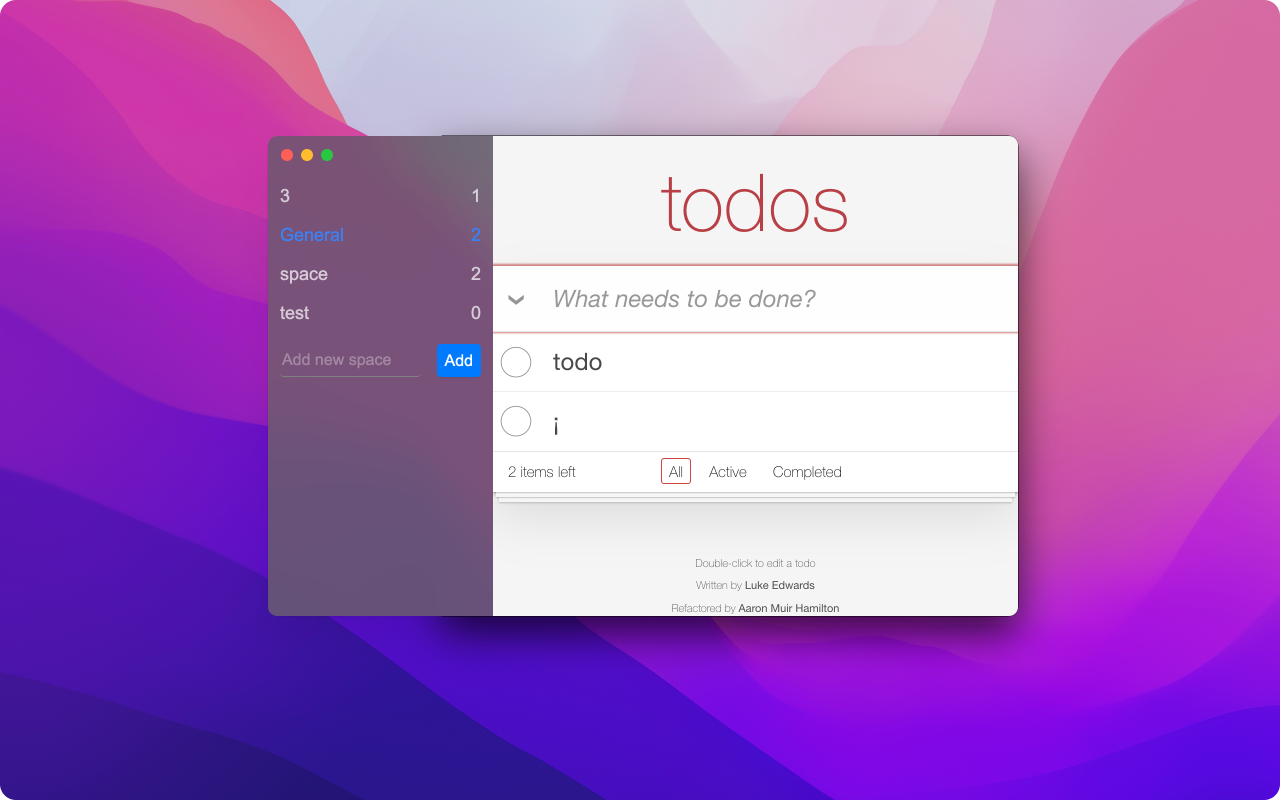
We’ll also add styles to the main.css to make this view presentable:
Main view after adding styles
Step 6: Quickly capturing todos via spotlight
The spotlight view is responsible for publishing create:todo events for the main view. Since it doesn’t need to subscribe to any events, we’ll just need the publish function from @todesktop/client-ipc. Import the following in spotlight/controller.js:
Inside of the existing addItem function, we’ll publish a create:todo event with the title of the new todo. This event will be received by main, who will then use it to add a new todo
We’ll also add some styles to spotlight.css:
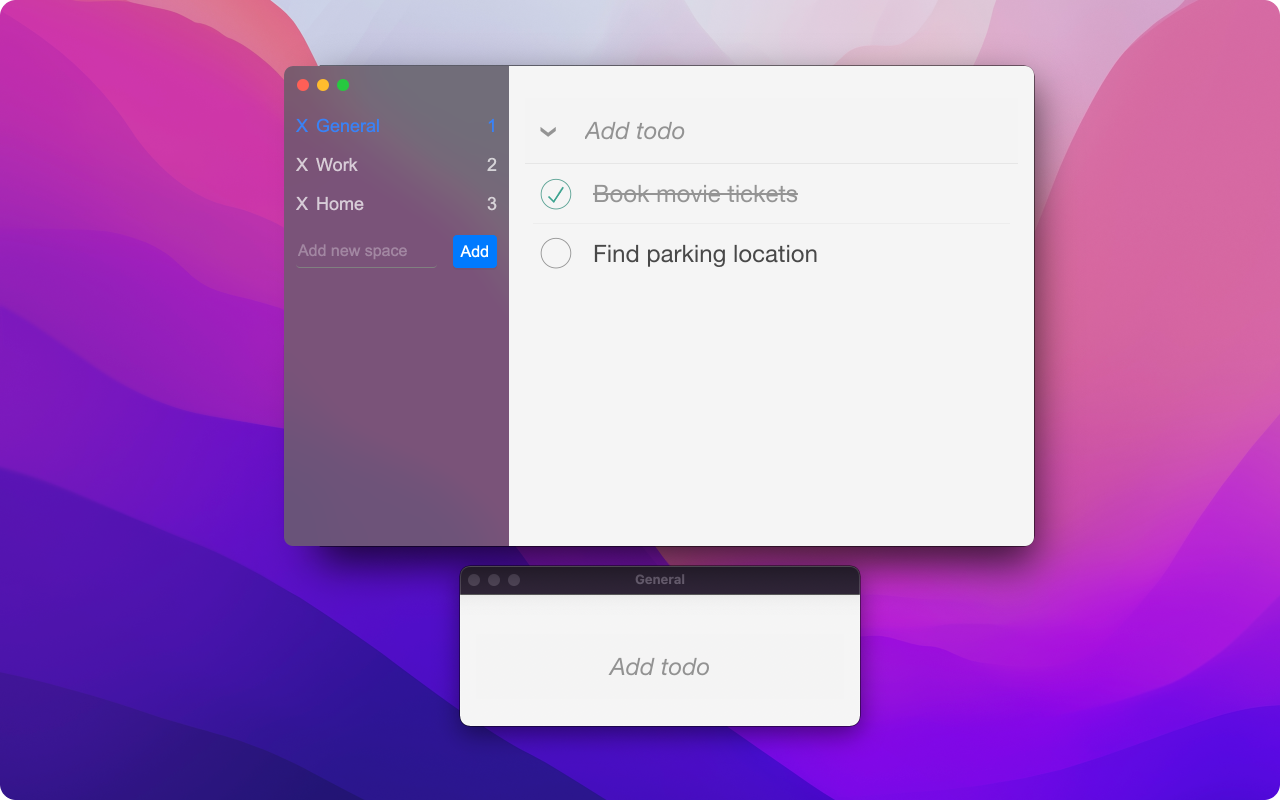
This brings us to the final state of our TodoMVC application. We now have a multi-window app that can:
- Create, update, and delete todos.
- Organize todos into different workspaces.
- Capture todos in a floating window that synchronizes with the main window.
The final steps will be to deploy and release our desktop app.
Step 7: Deploy static app
We have been building our app using http://localhost:8080. This works great for development. However, a public URL is needed if we wish to share it with other users.
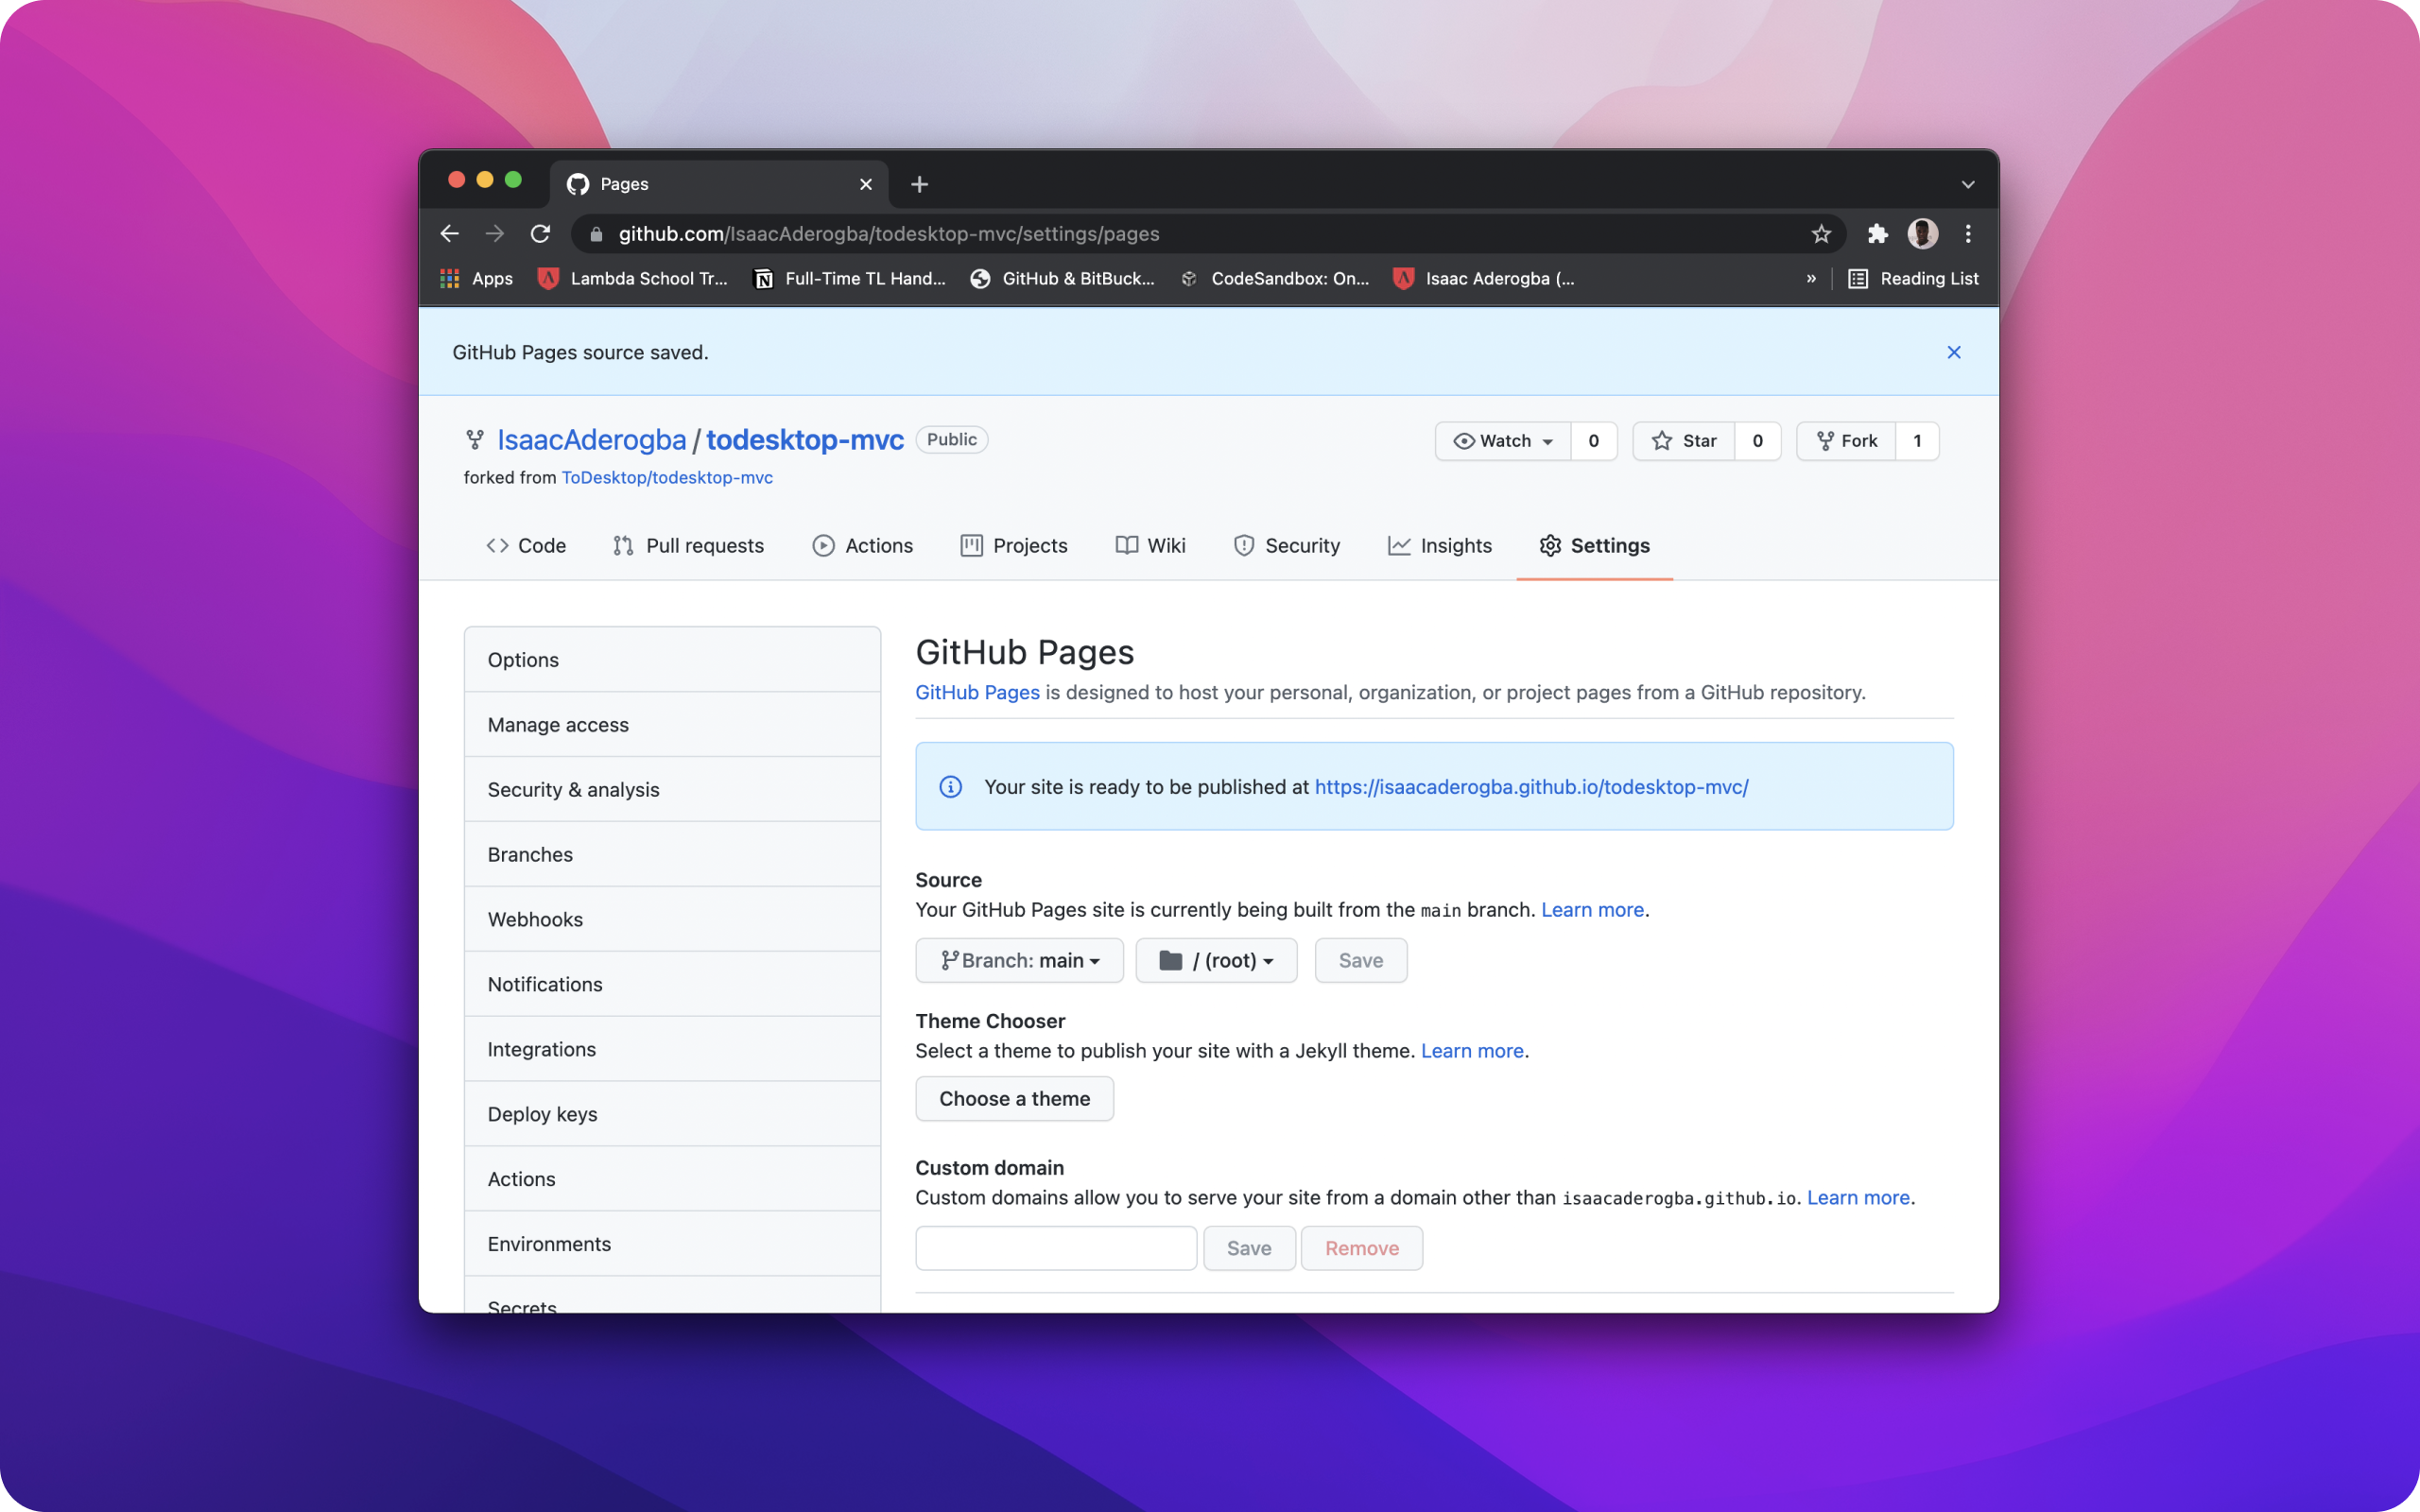
We will use Github Pages to deploy the static app and get the public URL. Using Github, navigate to the Settings of your project and then navigate to Pages via the sidebar. Set your branch to main and then click save.
After Github has finished deploying the app, you should see a public URL telling you where your static app is available. This will take a few minutes and you may be required to reload the page. Once the URL is visible, copy it to your clipboard.
Using ToDesktop Builder, navigate to Windows and update the following to your copied URL.
Overview
In the index/index.js file, update the production root to to also point to your copied url
Now using your terminal, run the following command:
Finally, push your changes to Github
Step 8: Release Desktop App (Requires Subscription)
To release our desktop app to production for customers to download, press the Release button in ToDesktop Builder. Once a subscription has been created, you will be asked to specify a version number and release your app!
This will open a progress modal which displays the build progress of your Mac, Windows and Linux desktop app. Once completed, you can copy the download URL or download the desktop app directly.
Conclusion
In this guide, you learned how to build and release a TodoMVC desktop app with native functionality. If you ran into issues or have any questions, feel free to raise them on Github or drop us an email at hi@todesktop.com